CHIP-8 Emulator
| CHIP-8 Emulator | |
| | |
| General | |
|---|---|
| Author(s) | rw-r-r_0644, brienj |
| Type | Emulator |
| Version | GX2 |
| Links | |
| Download | |
| Source | |
| Downloadable via the Homebrew App Store | |
The CHIP-8 Emulator project aims to create a virtual environment allowing software built for the CHIP-8 virtual machine in the 1970s and 1980s to be run on a Wii U console. It was developed by rw-r-r_0644 while following a tutorial here and updated to GX2 graphics + other tweaks by brienj.
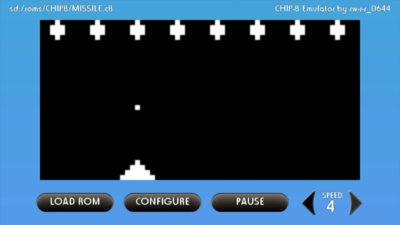
Screenshots
Setup
Once the program has been placed on your SD Card (just like any other, in the sd:/wiiu/apps/CHIP8 folder), simply add your ROMs to the sd:/roms/CHIP8/ directory. The ROMs must have the .ch8 extension.
Controls
When the emulator is launched, you will need to select a ROM image. Press Load Rom and select a rom from the list.
The CHIP-8 VM used 16 keys, and each app used them in different ways. Unfortunately, the Wii U GamePad only has 13 mappable buttons, but they can be mapped to any CHIP-8 key. You can edit keys configuration by using the configure button.
At any time during a program, you can simply press the HOME button to quit the program and return to the Homebrew Launcher.
History
GX2
- Switcheed to GX2 graphics
- Added key configuration saving to SD
- Switched to more common .ch8 extension
- Added Super CHIP8 support
- Added sound
- Added easier speed selecting
- Added real time speed (fixing INVADERS and other almost all games)
v2.1
- Implemented the "cycle delay" feature (A.K.A. changing the emulator speed)
v2.0
- Ported to Homebrew Launcher
- Implemented SD Card loading, instead of web-based downloading
v1.0
- Initial release
